Happy Sunday, everyone! I am excited to share a single layer card with you today. For me, it’s almost CAS. 😁😂 Perhaps not CAS for most, but for me, a single layer card is as close as I get these days. I hope you like it as much as I do.

This card draws inspiration from Tim Holtz’s 2024 Stampersanonymous Halloween. Many of the makers used alcohol ink backgrounds and then added stamps and pastes over the top of the backgrounds.
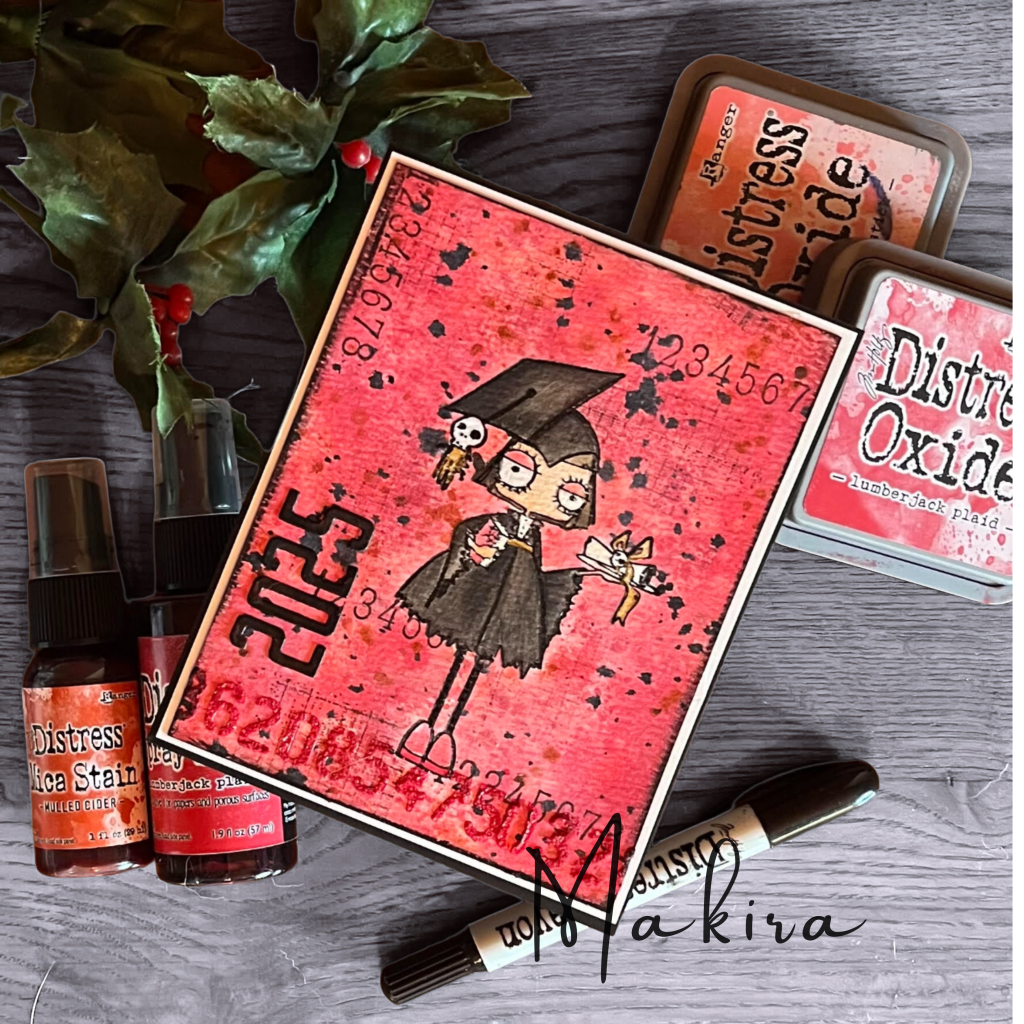
If you’re looking to recreate this card, here’s what you’ll need:
- Papers: Yupo paper, Fabriano Black/Black cardstock, Gold cardstock
- Alcohol Inks: US Art Supply (Candy Red, Scarlet Red, White), Ranger Gold Mixative, Ranger Alcohol Blending Solution
- Stampers Anonymous stamps: Santa Visit CMS500, Vintage Holidays CMS423, Department Store CMS458
- Versafine Onyx Black Ink
- Gansai Tambi Starry Colors in Blue Gold
- Misti Stamping Platform 12.5 x 12.5
Begin by trimming a piece of yupo paper to 5″x7″. Apply a mix of alcohol inks and mixative until you’re happy with the background’s look. Set it aside to dry completely. Next, stamp the focal images diagonally across the paper with black ink. Arrange the other stamps and apply a second-generation stamping with them using the same ink. Using a fan brush and blue-gold water colors, splatter gold accents over the card front. Allow this to dry thoroughly; this dry time may take 12+ hours for complete drying. To finish, cut a black base along with two mattes—one in black and one in gold. Layer everything together and you’re ready for Christmas 2025.

Challenges entered:
- Park Hopping My Happy Place (Santa’s Village Theme Park )
- Craft Roulette (card for crafter=Christmas CR; pretty paper color=christmas paper in red, gold, white & black; bell=Christmas bells stamped on the lower left; something gold=gold mixitive, gold splatters, gold paper)
- Double Trouble Challenge (Christmas holiday, bows are on the wreath and the bells)
- NBUS (I never used the gold mixative before)
- 52 Christmas Card Throwdown
- Word Art Wednesday
- As You Like It Challenge (I think the card is Chrismasy 😁)